
Good finishing starts long before a buffing wheel touches the part. Cutting, grinding, surface preparation and polishing are one connected sequence, and each step should hand the next one a controlled surface. When that happens, rework drops and the final appearance stops depending on who was operating the machine.
1. Define the starting surface and the target
Write down the material, the geometry, any coating, welds, burrs and visible defects. Then write down the target: a clean cut, a blended weld, a uniform preparation pattern or a bright polished finish. A stated target stops an aggressive tool being used where a gentler one would have done the job.
2. Cut and grind only as far as you need to
Select cutting and grinding consumables by material, dimensions, bore, machine and marked speed rating. Secure the workpiece, use the guard, and follow the wheel label and the machine manual. Over-grinding is the most common hidden cost in a finishing line: every millimetre removed here has to be repaired downstream.
3. Prepare with a flap disc
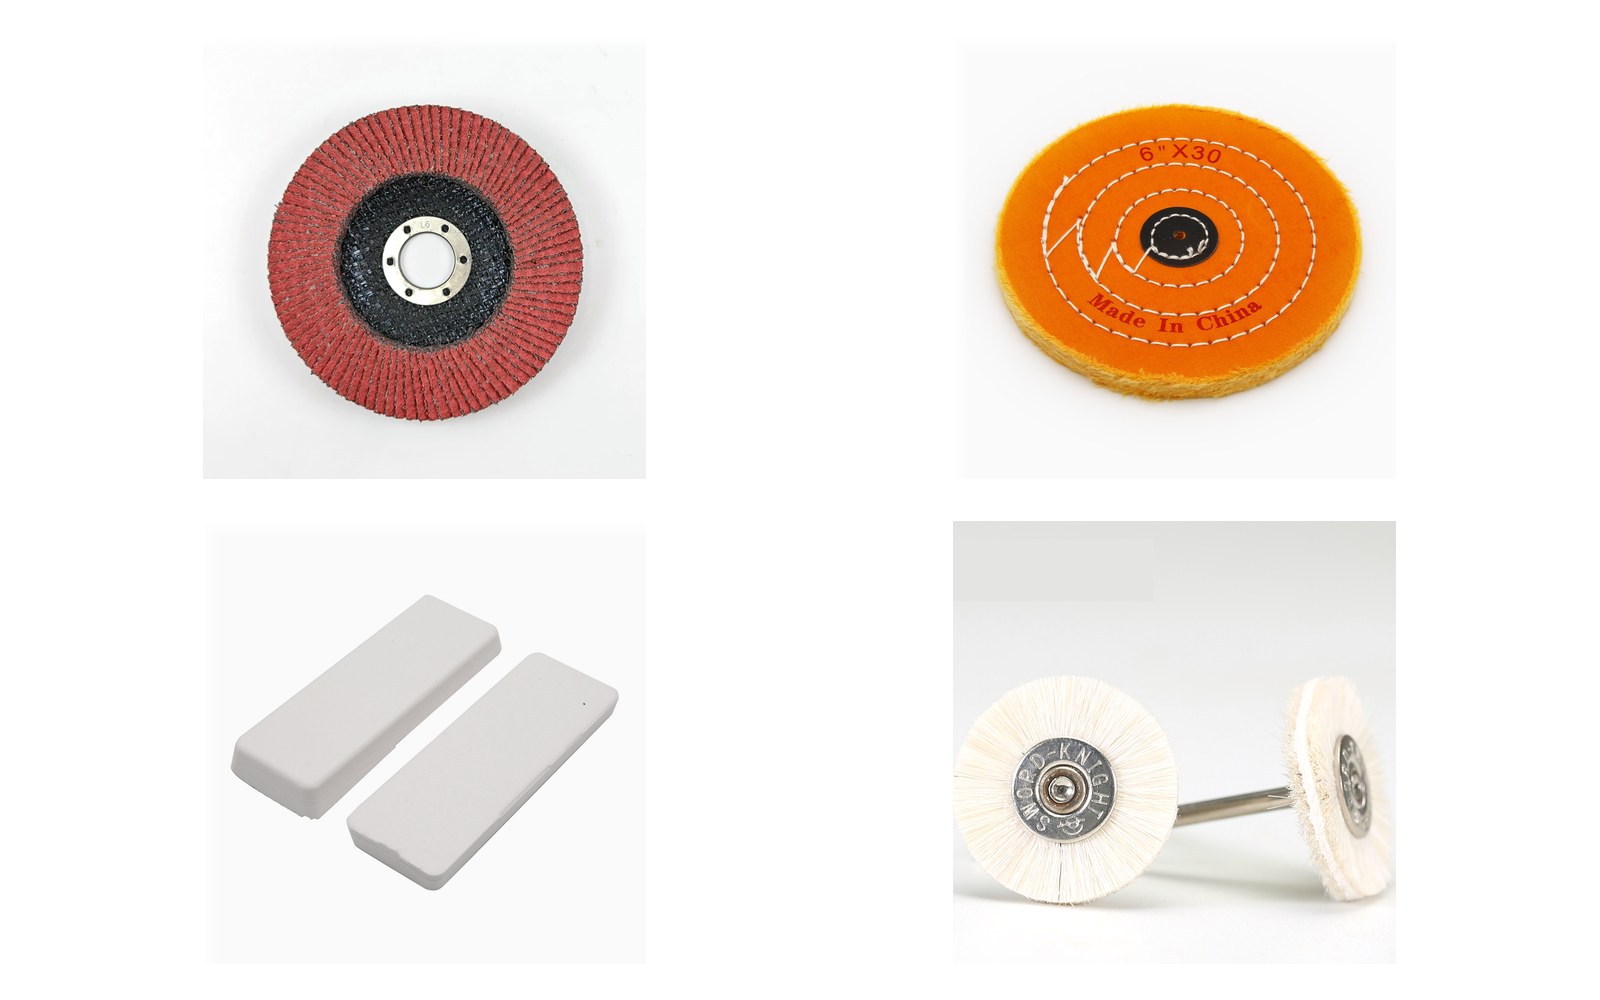
A flap disc such as Red Abrasive Flap Disc brings weld height down, removes burrs and oxidation, and establishes an even scratch pattern. Move through grits in order and inspect between steps; the goal is a uniform surface, not a mirror. For shaped or internal surfaces, a radial flap wheel like Gray Radial Abrasive Flap Wheel reaches where a flat disc cannot.
4. Refine with wheel and compound
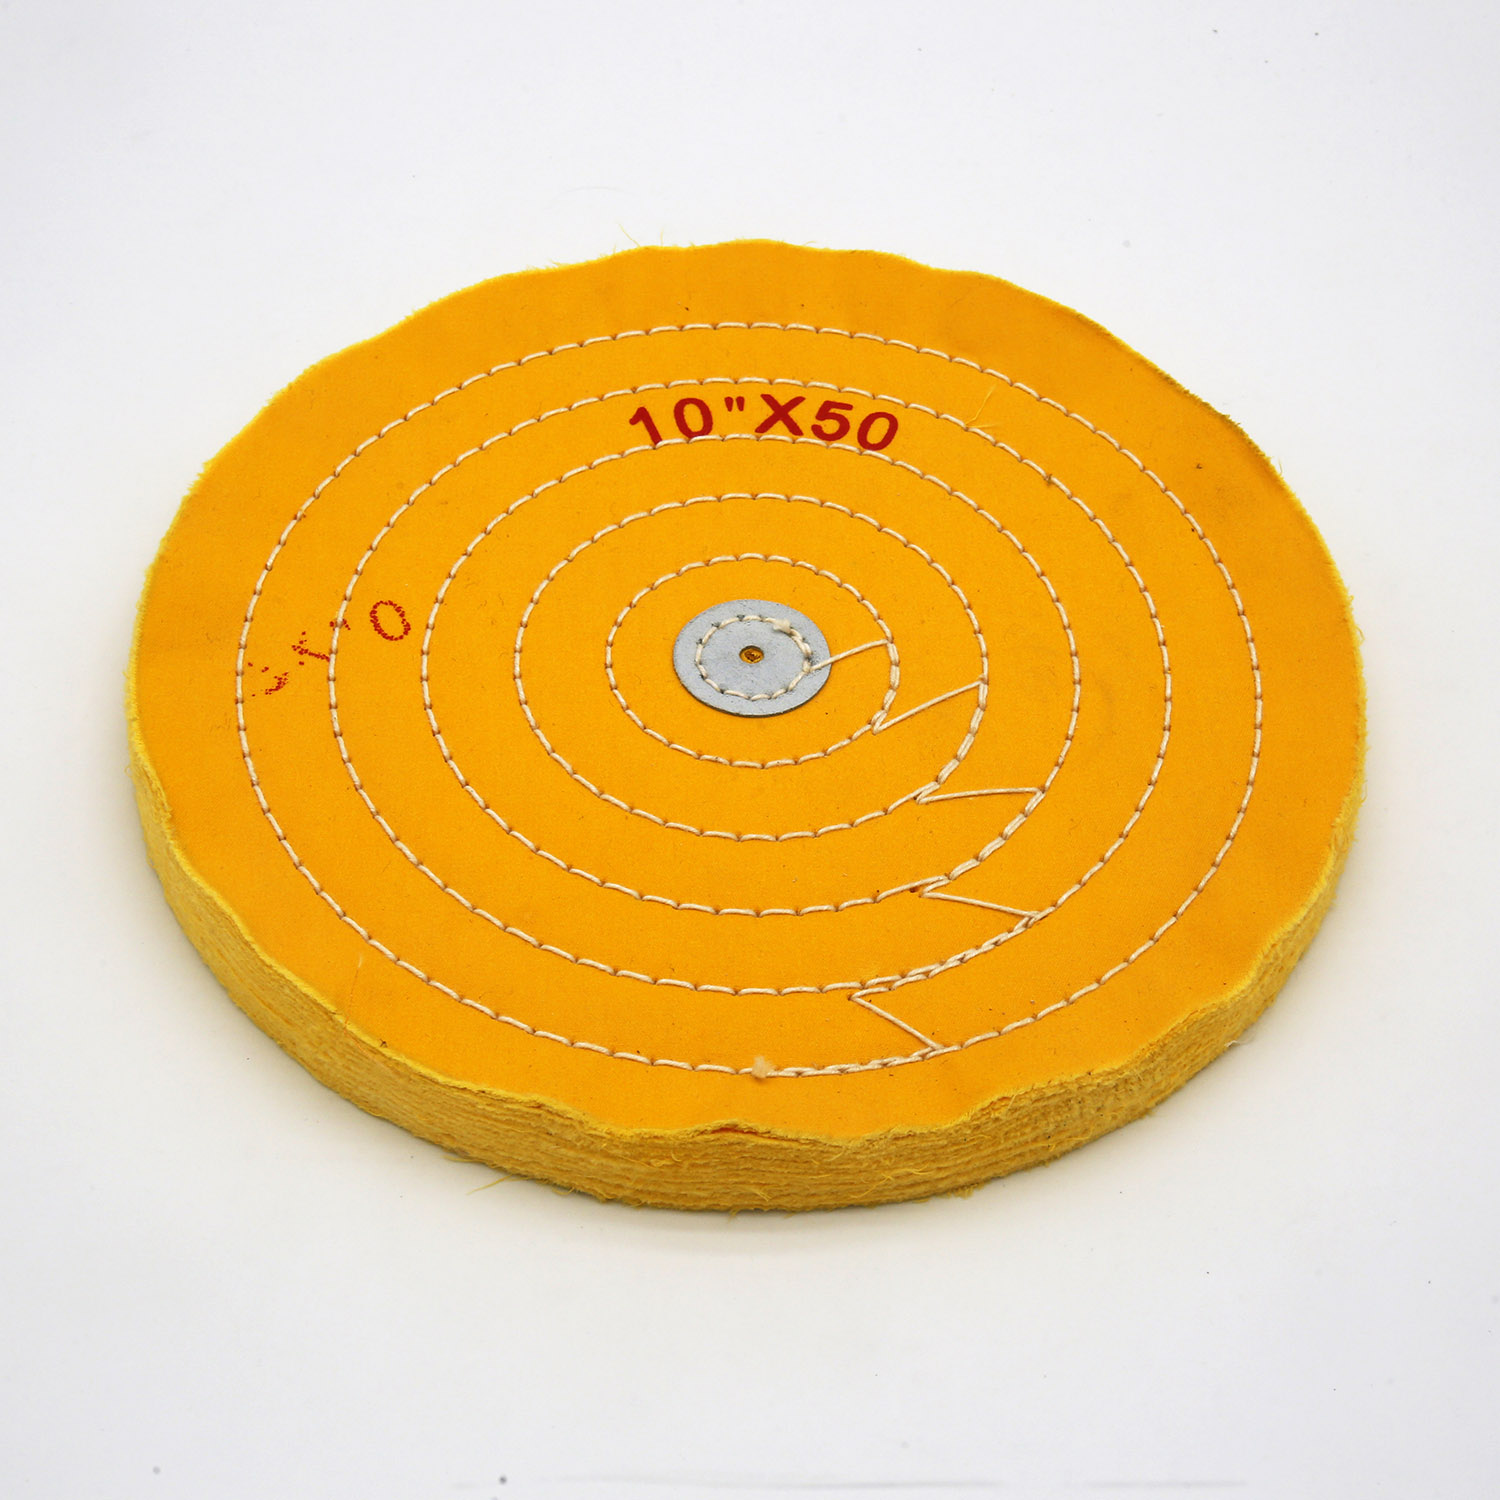
Once the surface is even, move to a cotton buffing wheel loaded with the matching compound. White Cotton Buffing Wheel 6″x50Ply Ø150mm×12mm with Leather Centre with a cutting bar handles the first pass; a softer Yellow Cotton Buffing Wheel 6″x50Ply Ø150mm×12mm Spiral-Sewn or a plain wheel with a colouring bar finishes. The Polishing Compound Bars White / Red / Green bar set covers both stages. Keep one wheel per compound — cross-contamination is the single most common cause of a finish that will not repeat.
5. Finish the detail
Flat wheels cannot reach everything. Corners, slots, threads and recesses need small tools: White Wool Pen Brush Ø17-22mm × 42mm or White Wool Pen Brush Ø19-25mm × 42mm pen brushes on a 2.35mm shank, the mounted White Cotton Mounted Buffing Wheel with 6mm Shank with its 6mm shank, or the Mini Mounted Buffing Wheel Kit 19 Pcs Ø25mm with 2.35 / 3mm Shank mini kit for the tightest work. Fit them with Steel Tapered Cone Mandrel for Buffing Wheels or the hardware in Steel Mandrel Mounting Hardware Kit for Buffing Wheels so the small tools run true.
6. Inspect and document
Inspect under consistent lighting against an approved sample, and record the products, grits, machine settings and sequence. Those notes are what turn one successful trial into a process the whole shift can run.
Not sure which item fits your line? Send the workpiece material, the starting surface, the target finish, machine type and speed, plus the quantities you need — request a quote and we will come back with a matched combination and lead time.
Always follow the machine manual and the safety information supplied with the product, and wear appropriate eye, hand, hearing and respiratory protection.
Related WanHu products
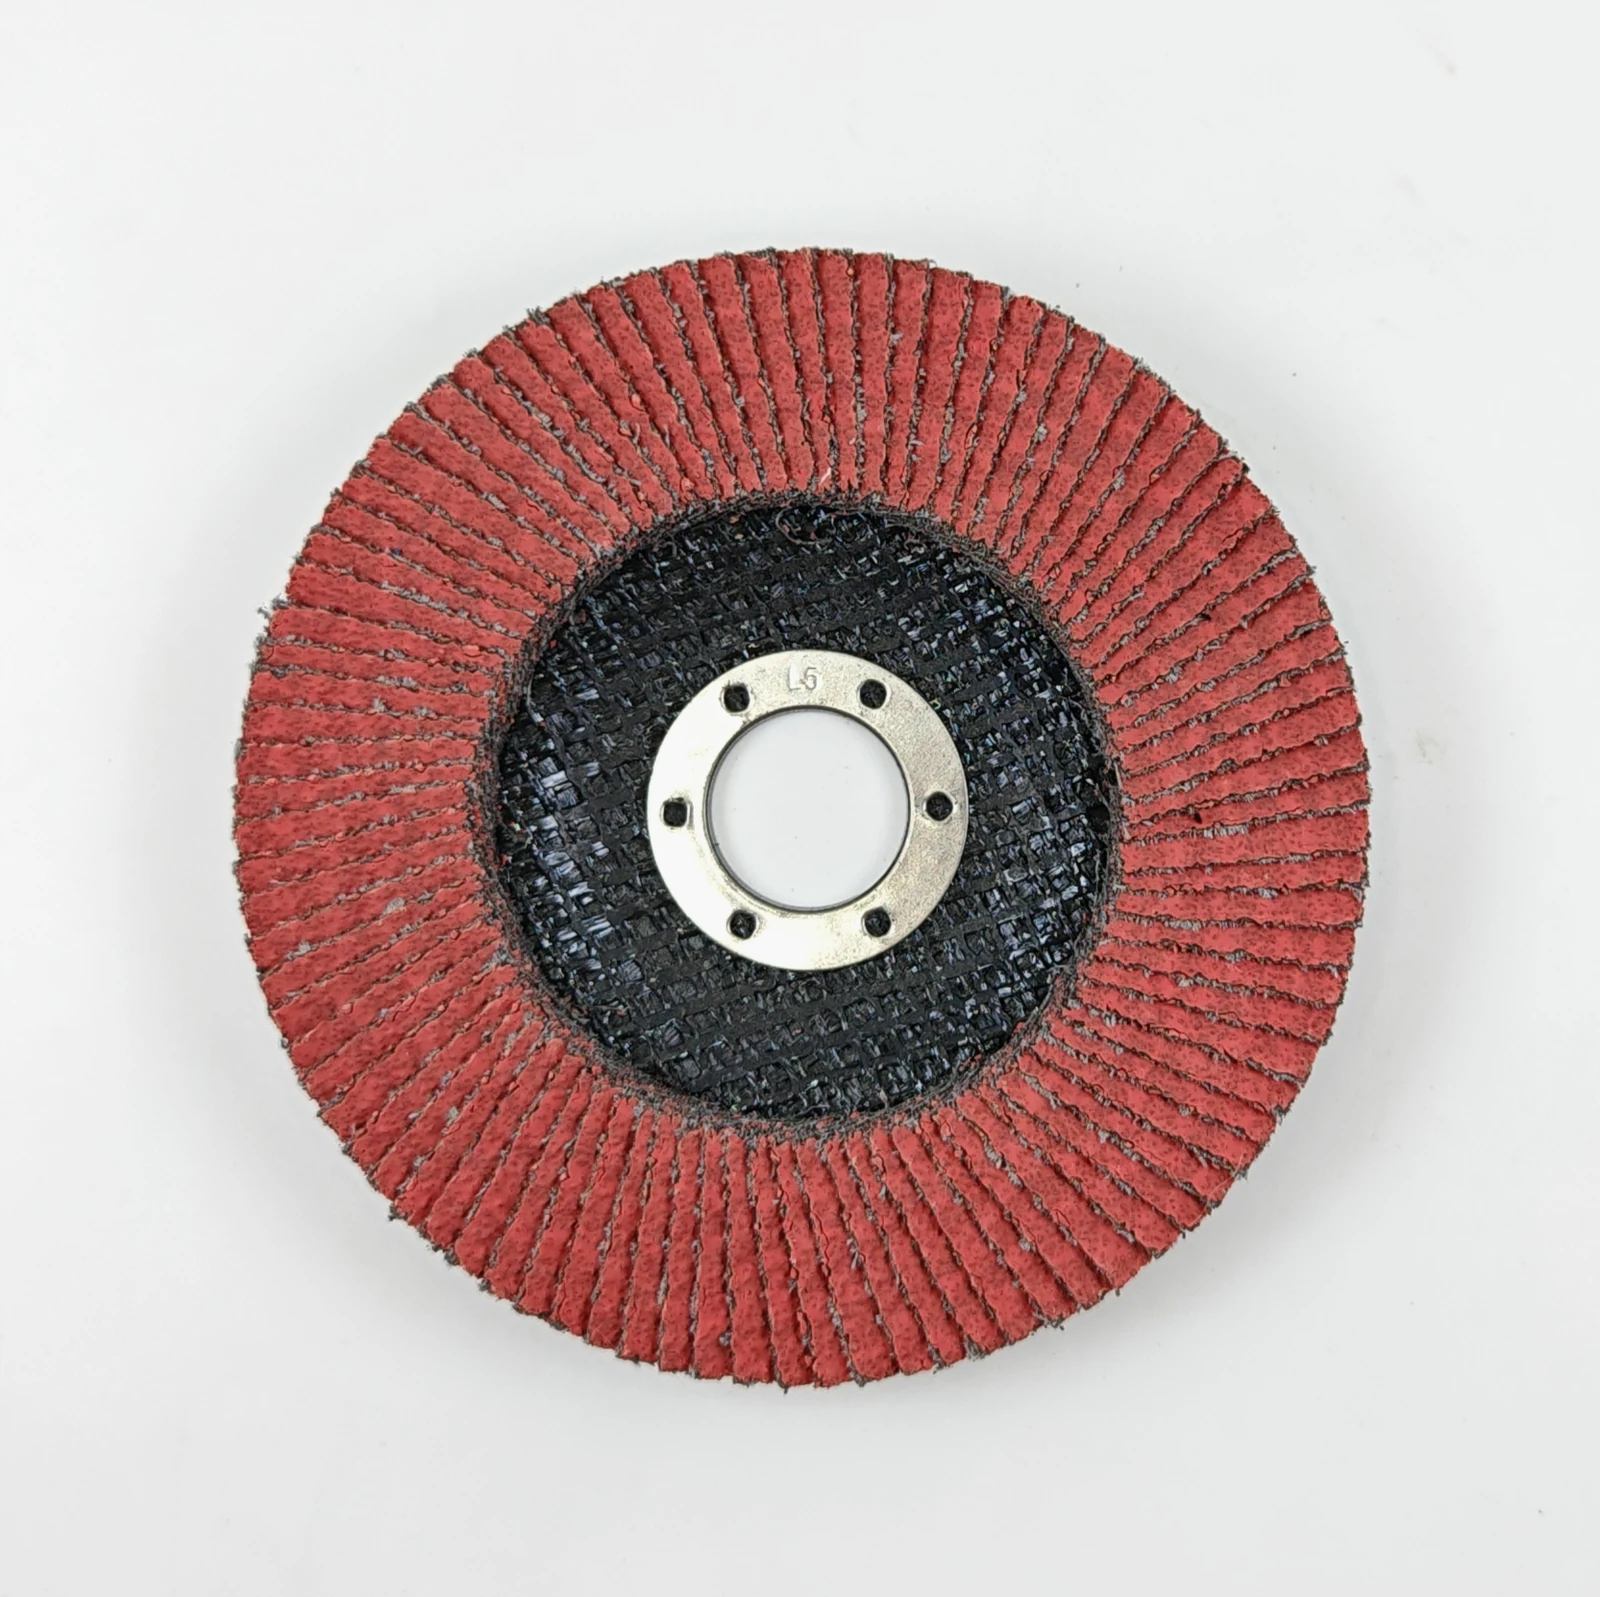 Red Abrasive Flap Disc
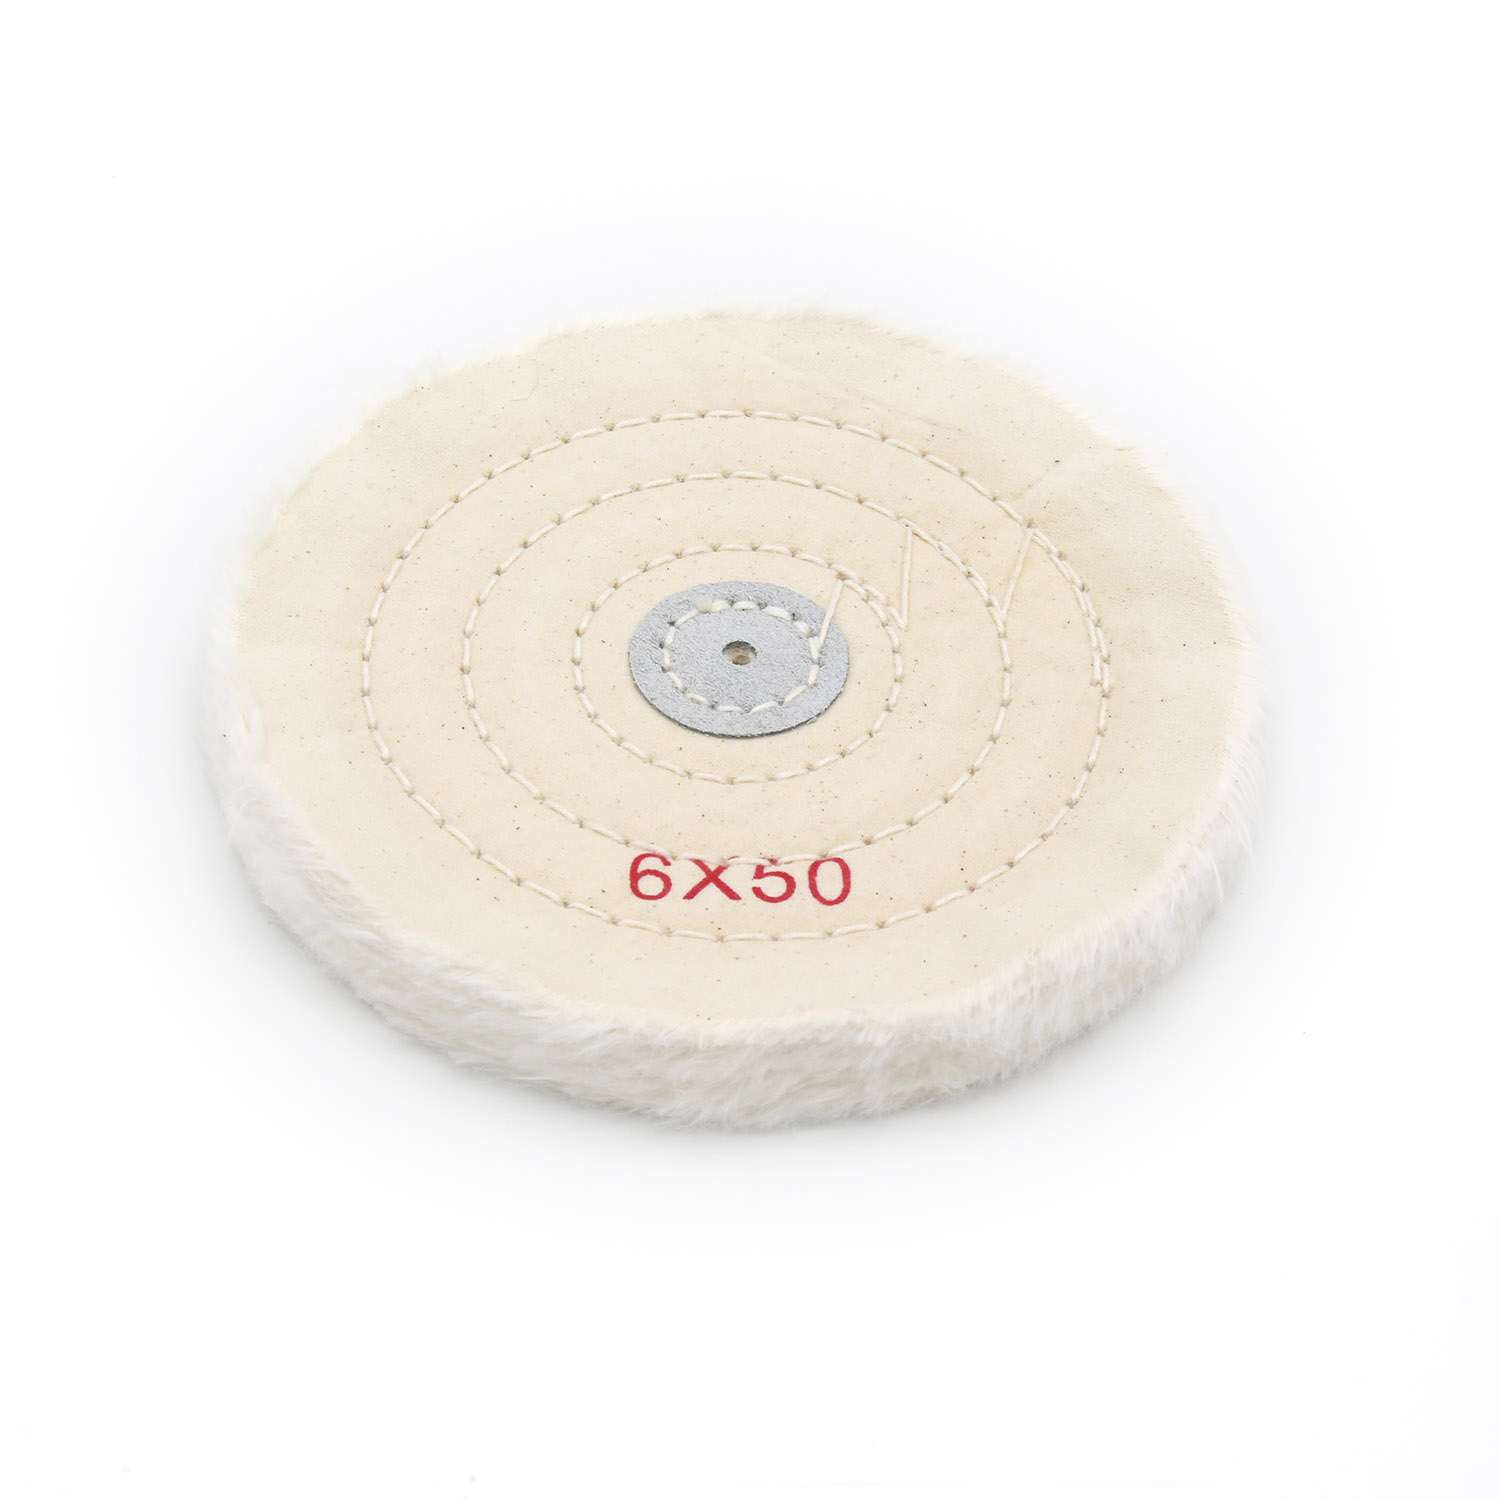 White Cotton Buffing Wheel 6″x50Ply Ø150mm×12mm with Leather Centre
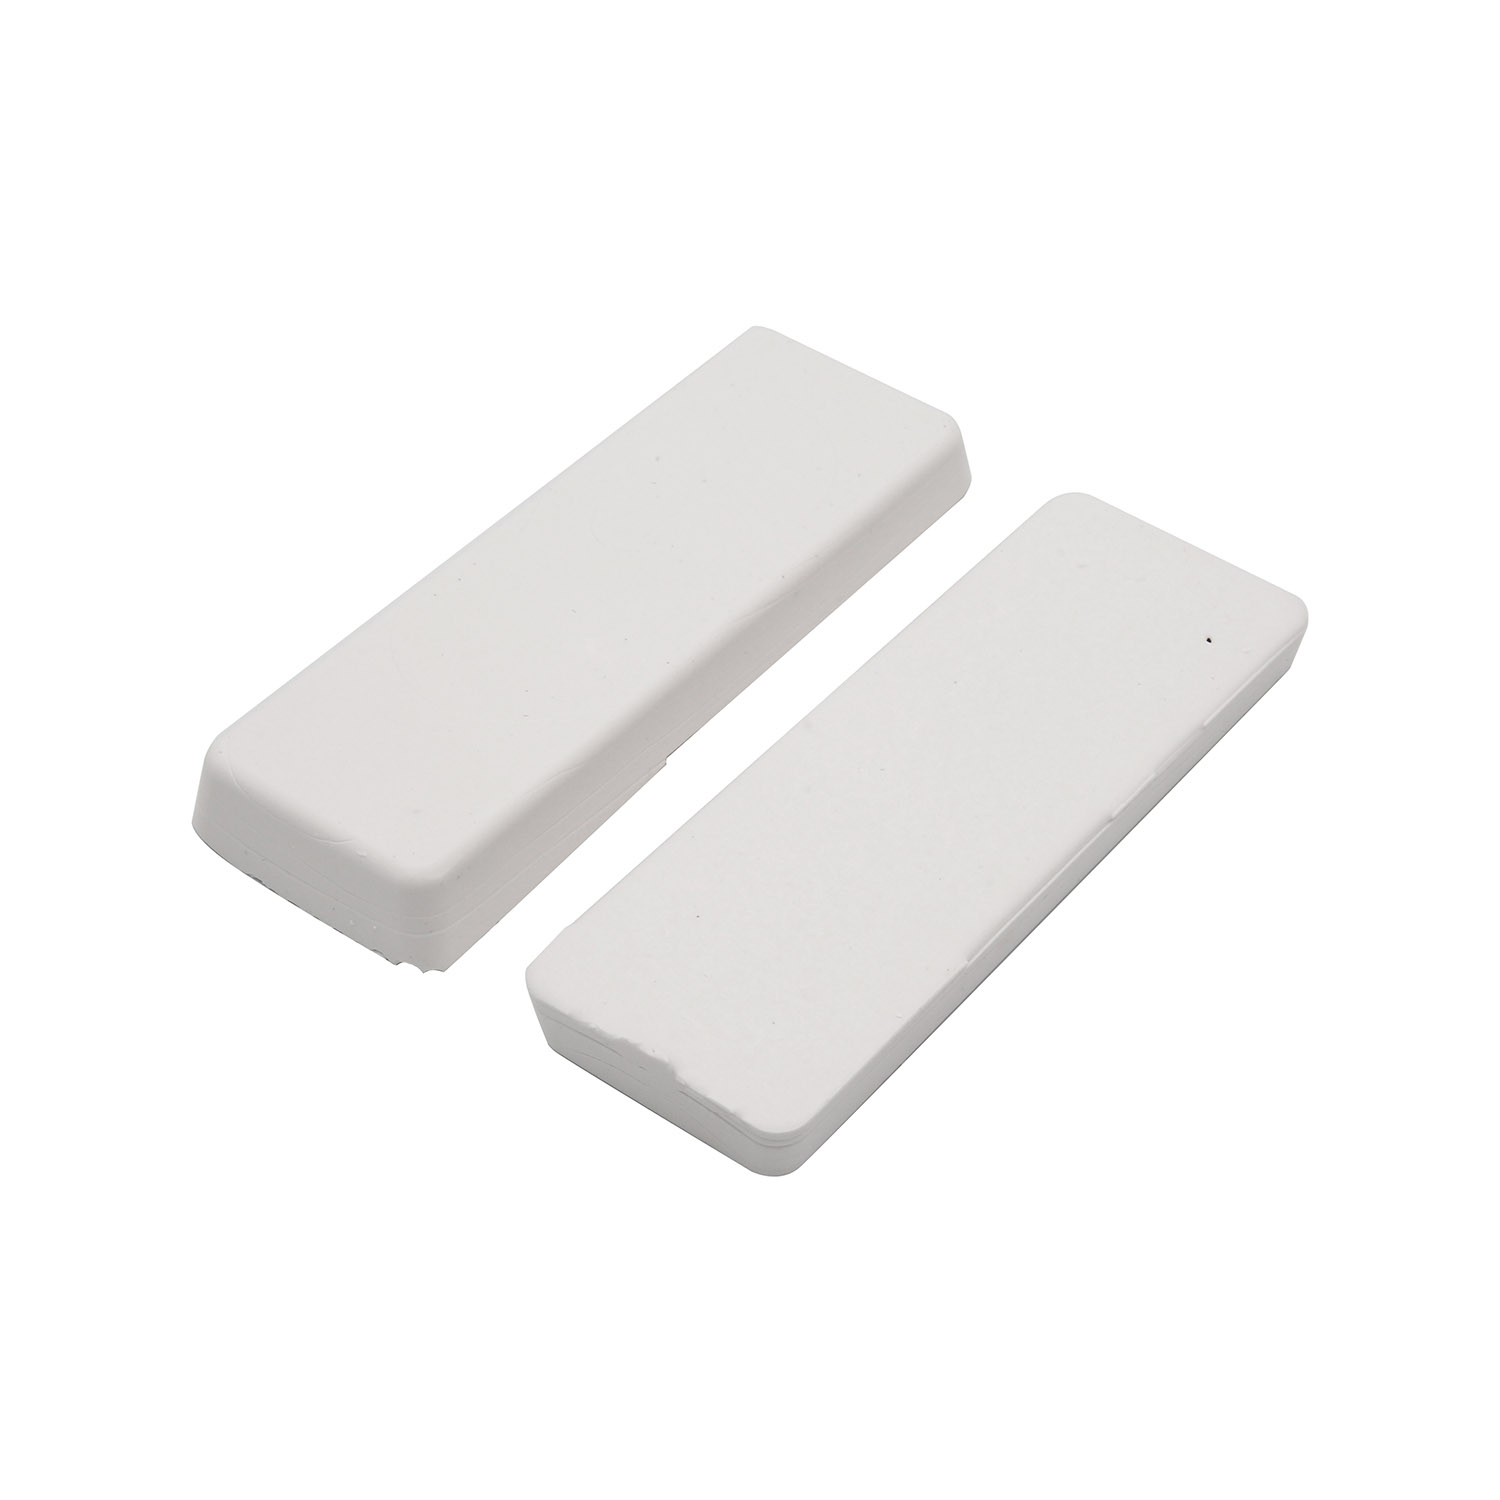 Polishing Compound Bars White / Red / Green
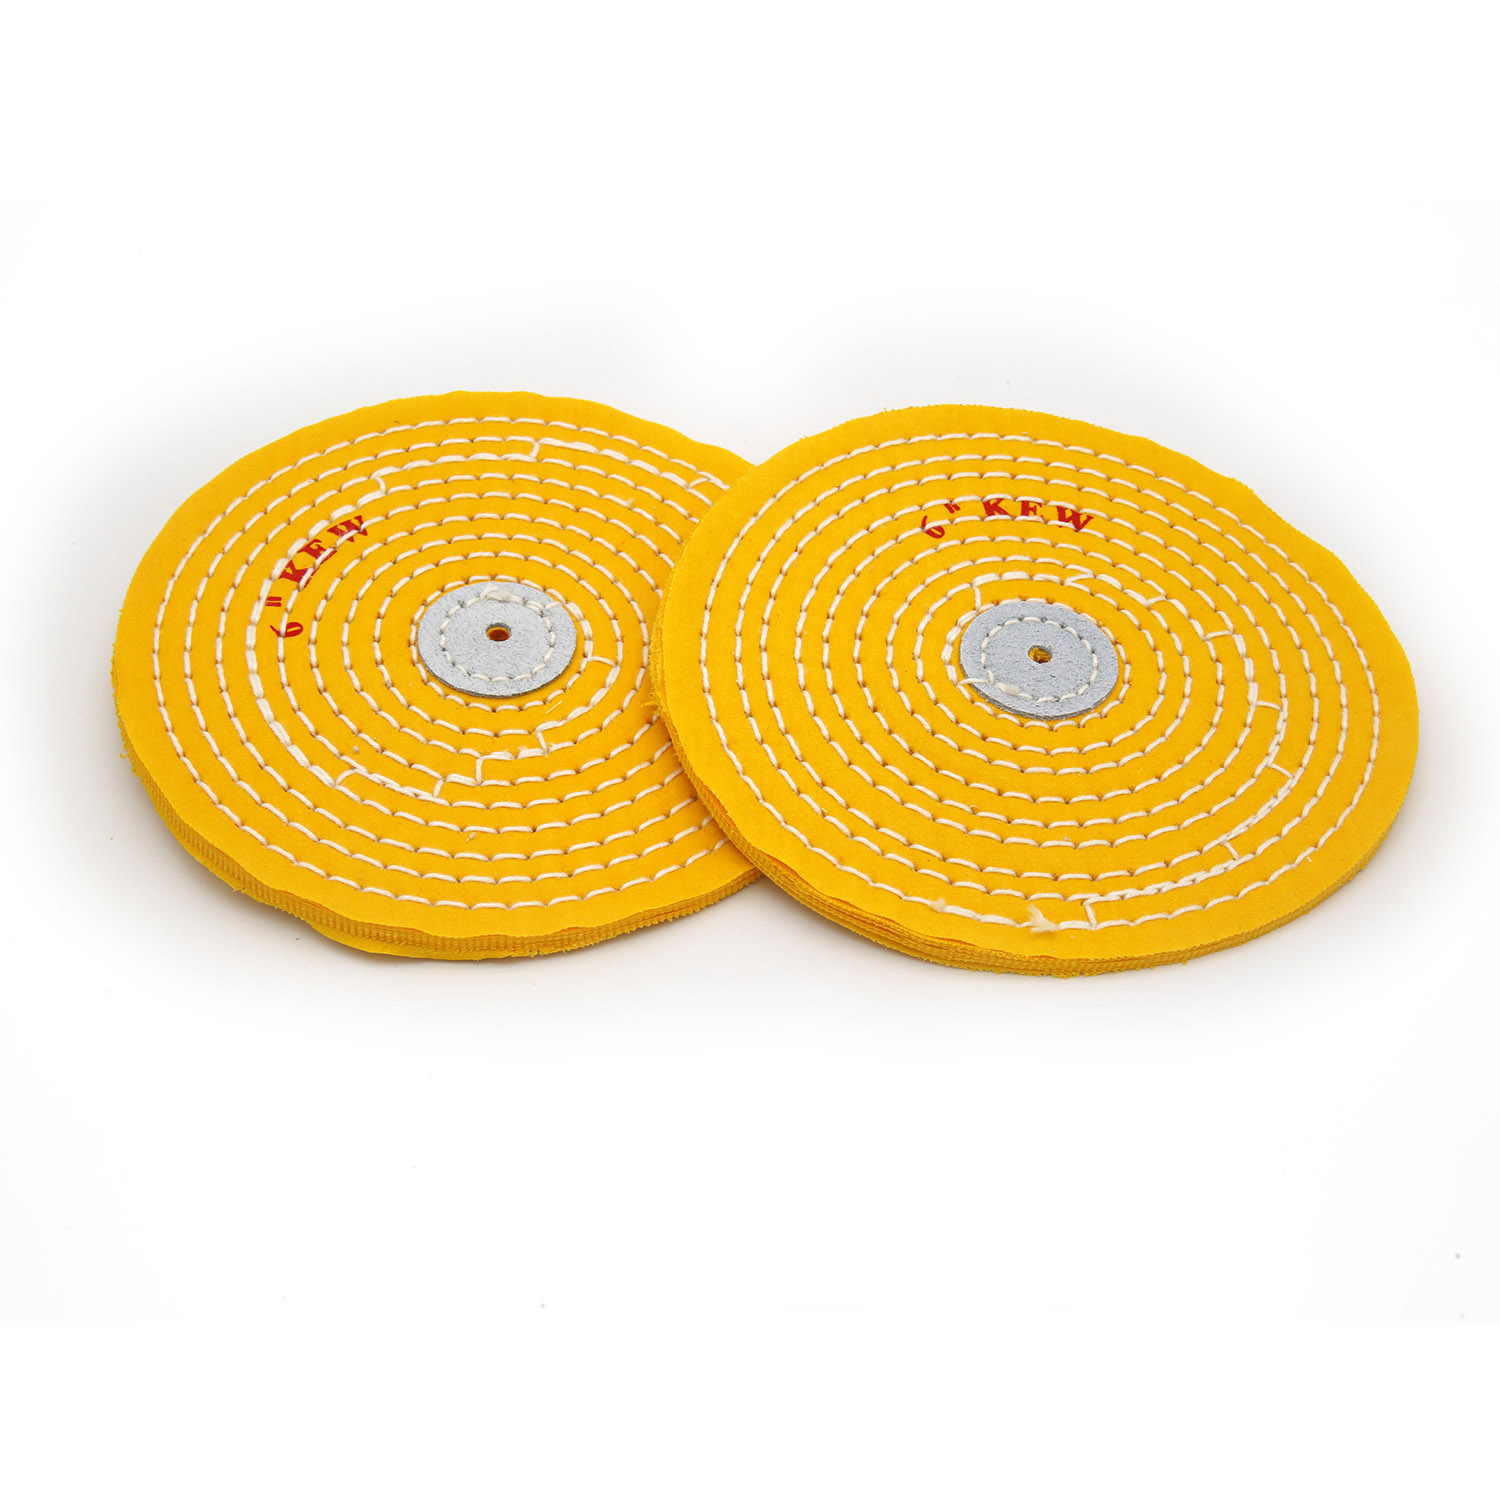 Yellow Cotton Buffing Wheel 6″x50Ply Ø150mm×12mm Spiral-Sewn
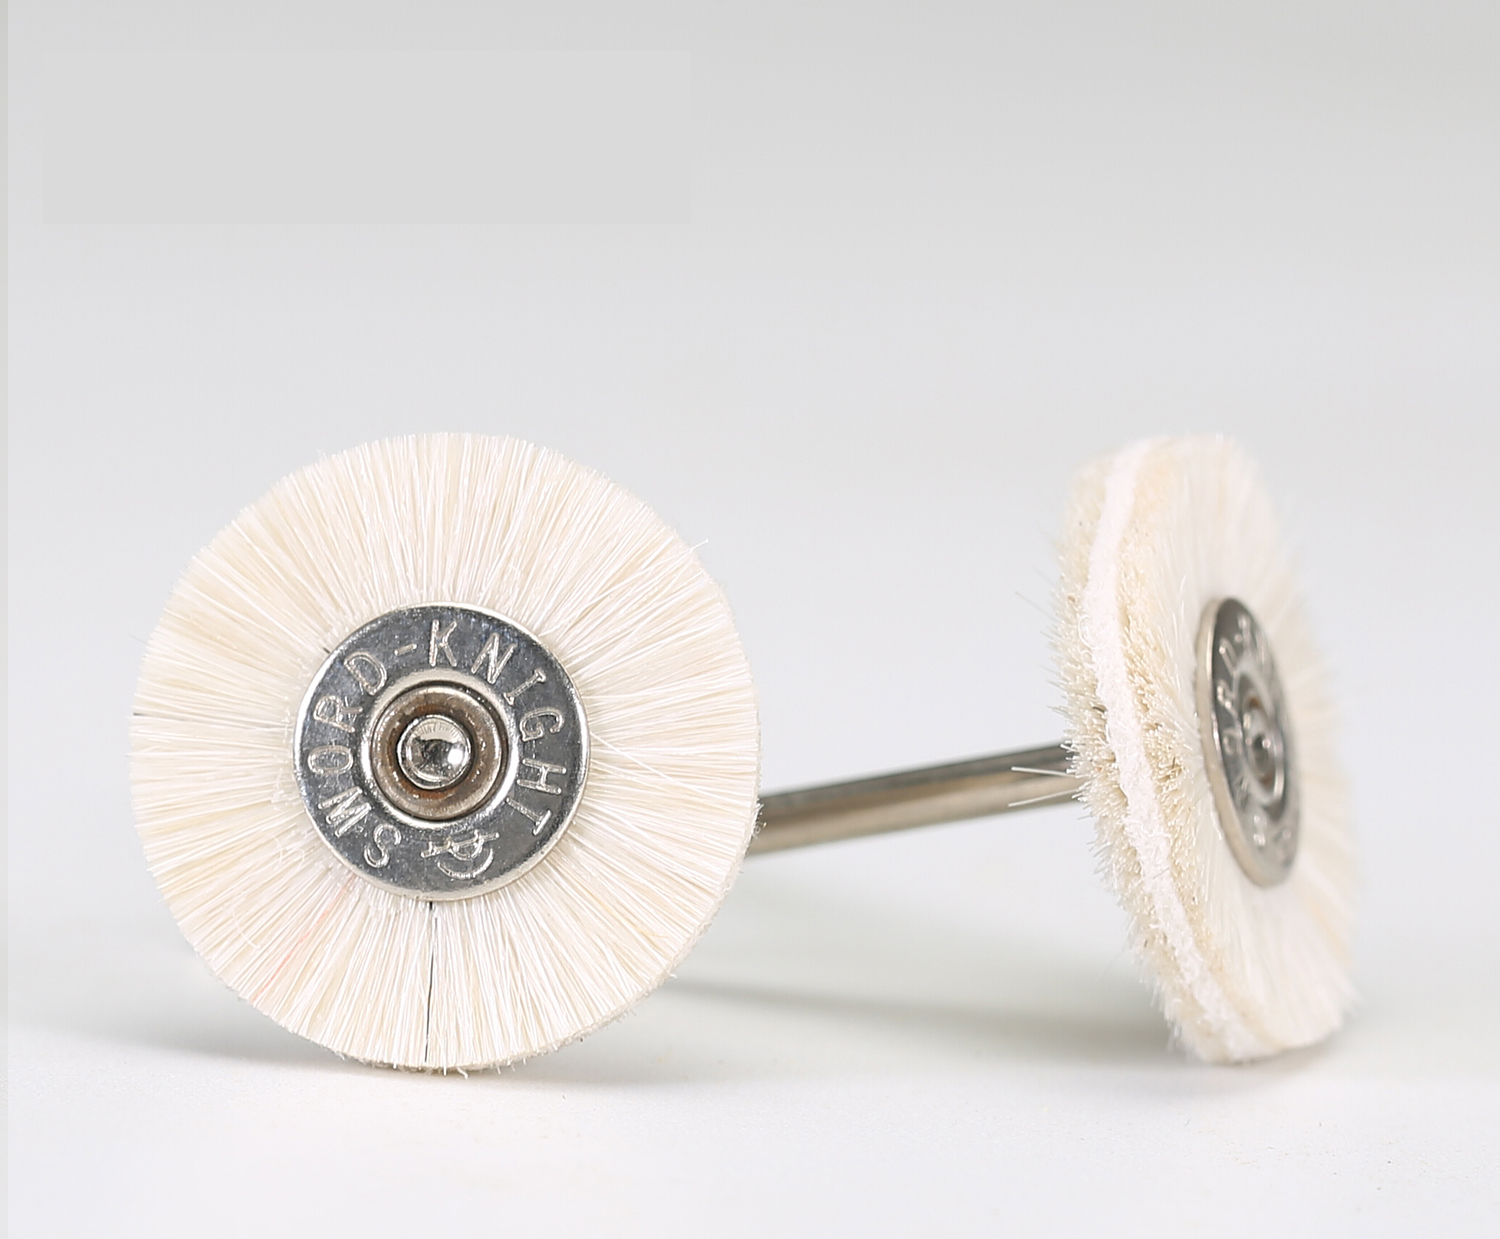 White Wool Pen Brush Ø17-22mm × 42mm
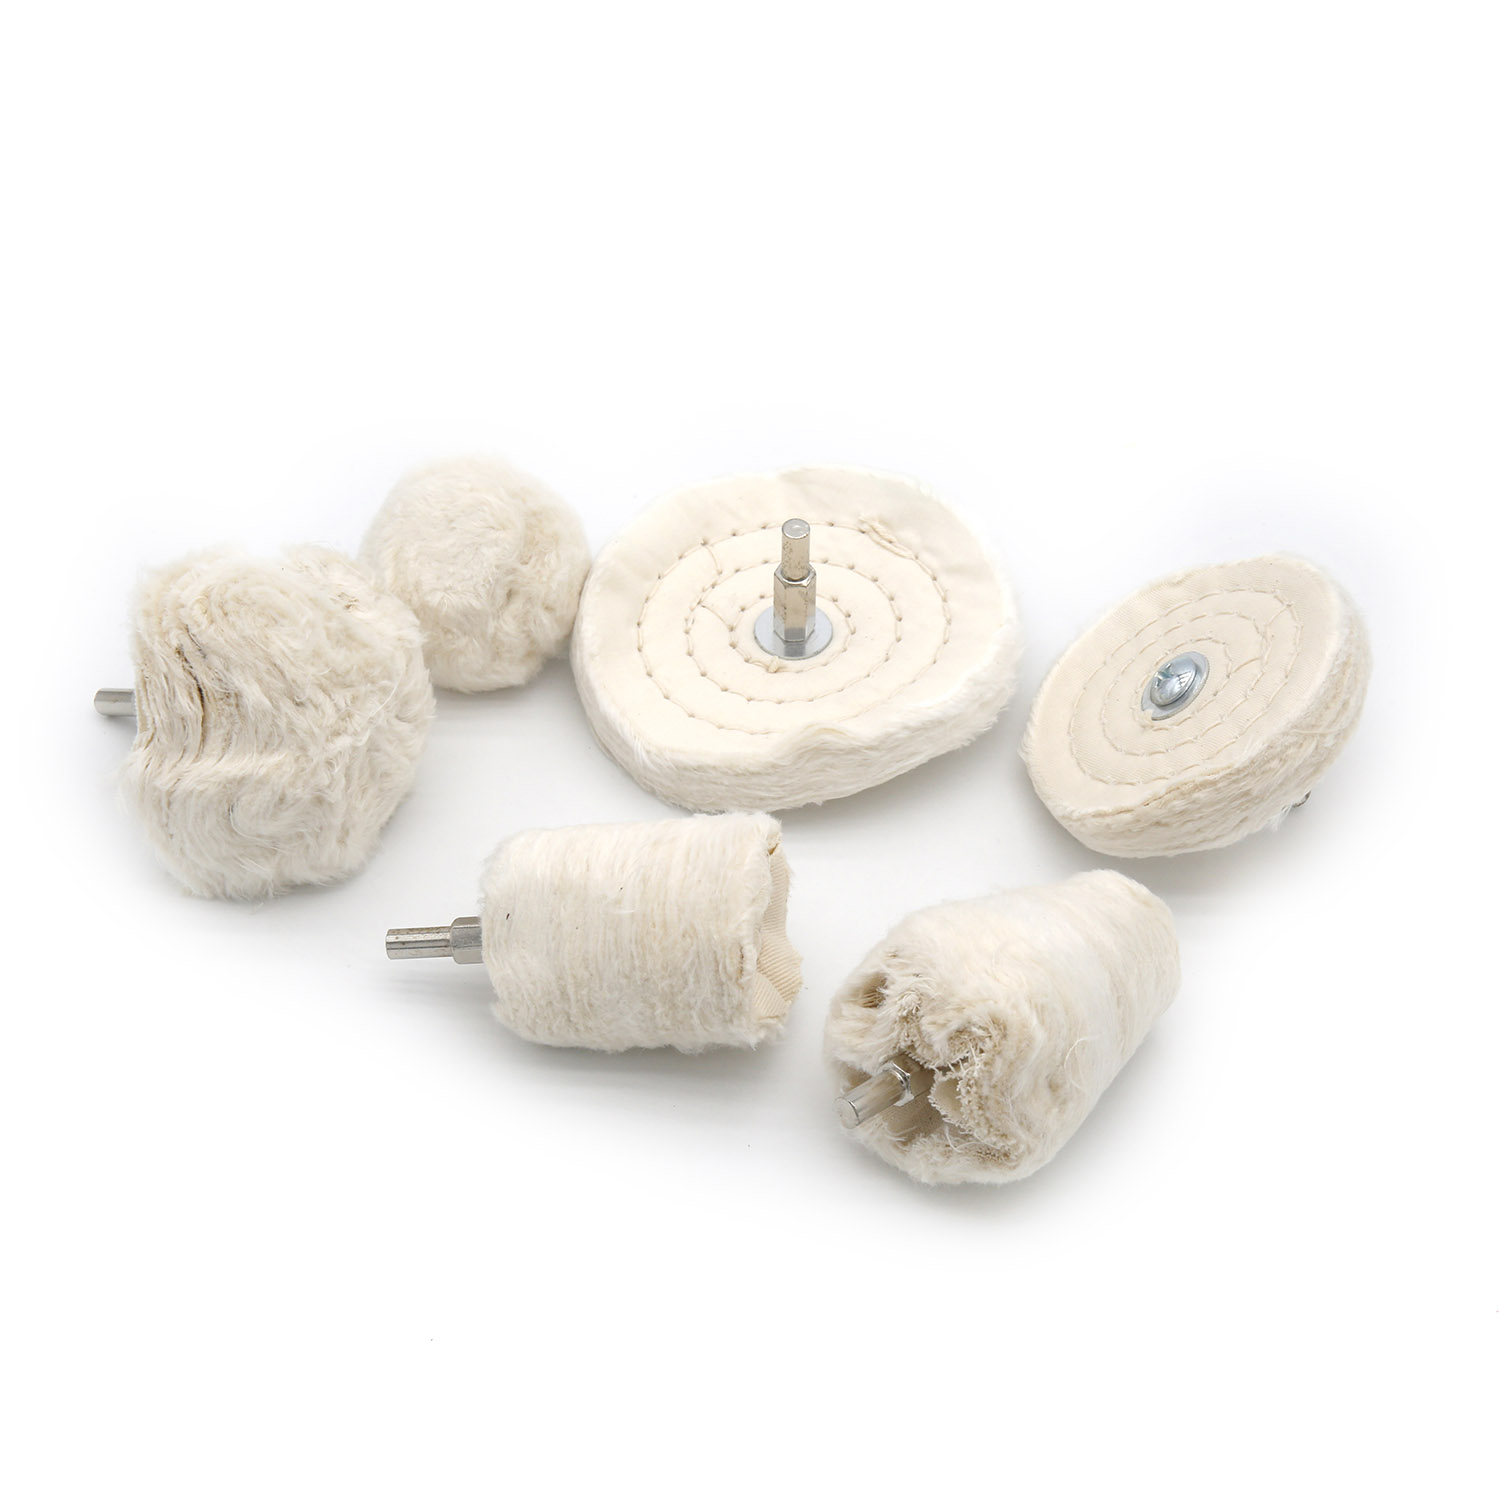 White Cotton Mounted Buffing Wheel with 6mm Shank
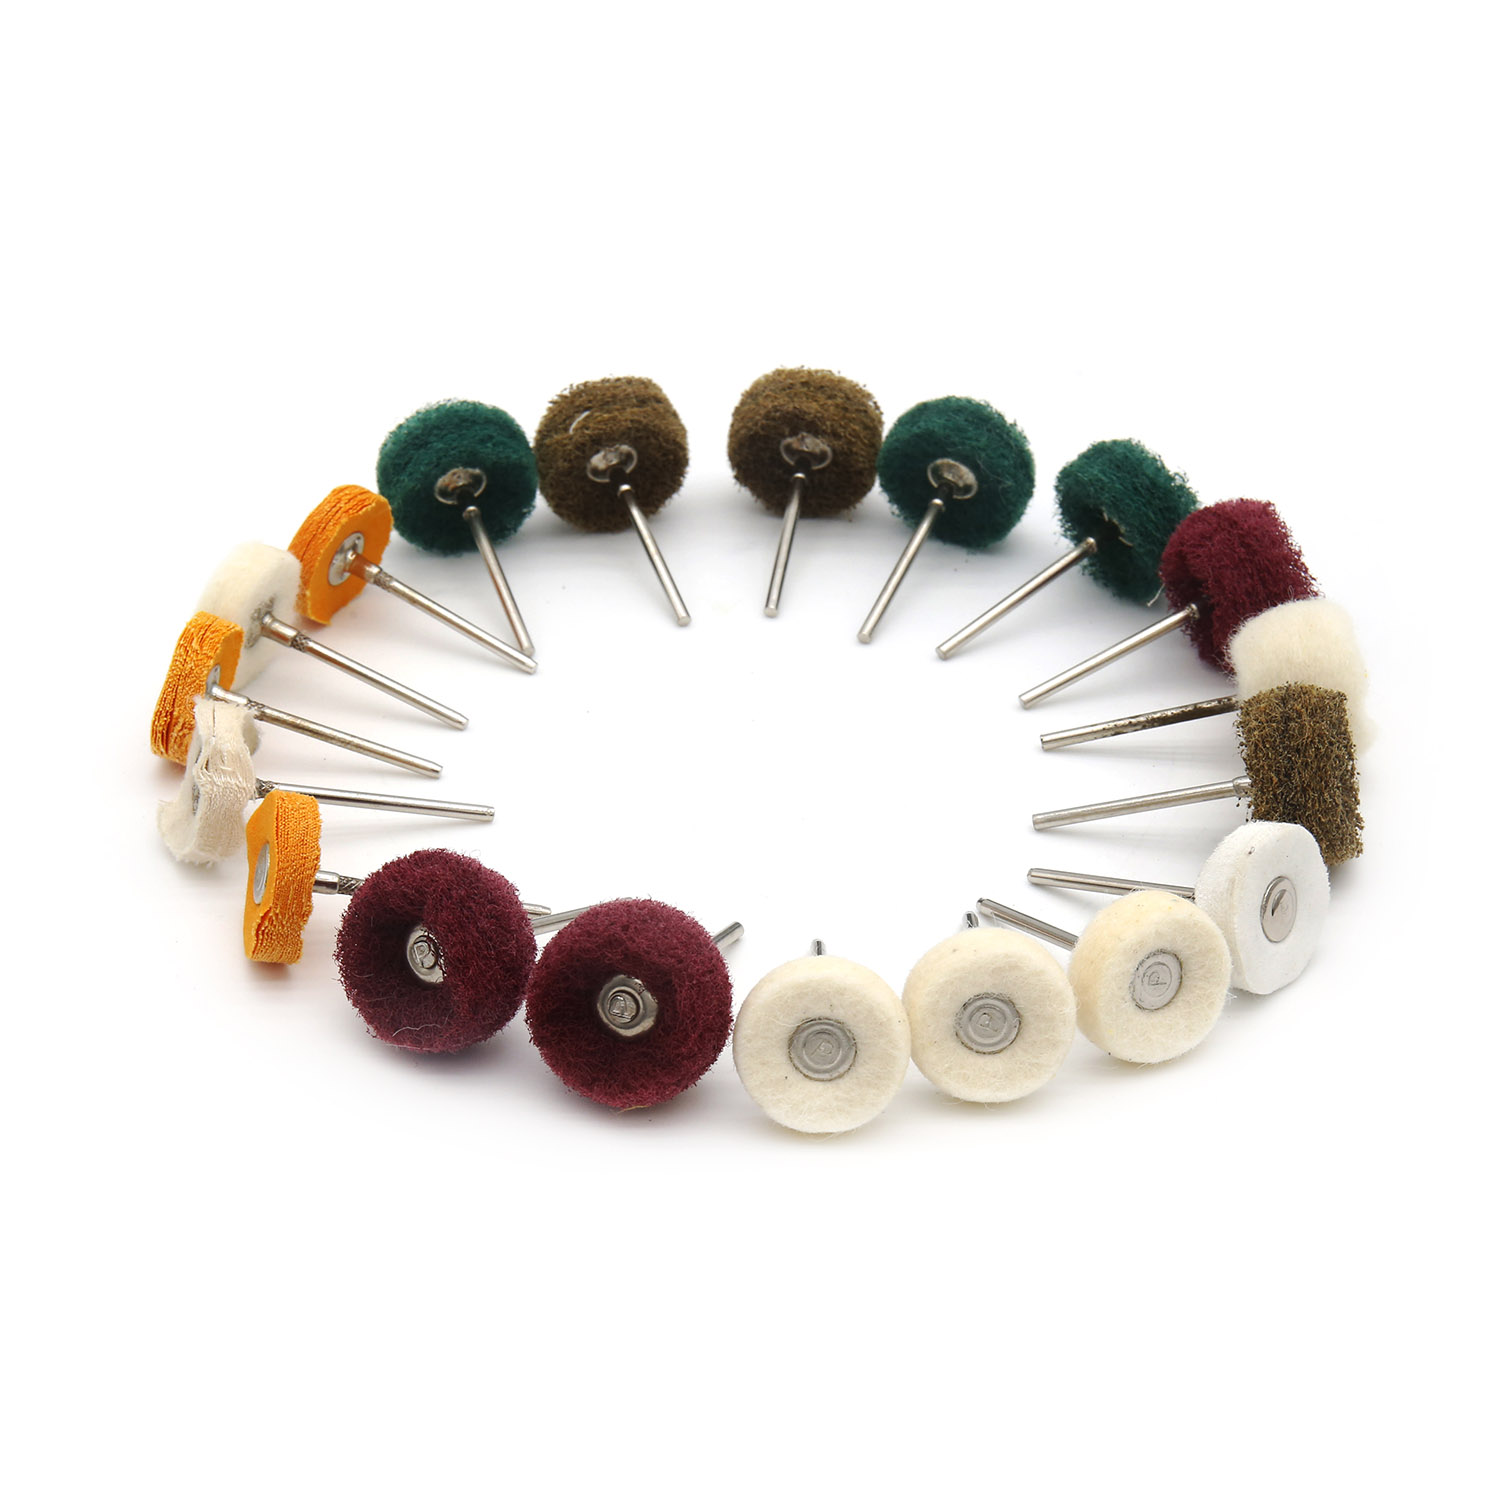 Mini Mounted Buffing Wheel Kit 19 Pcs Ø25mm with 2.35 / 3mm Shank
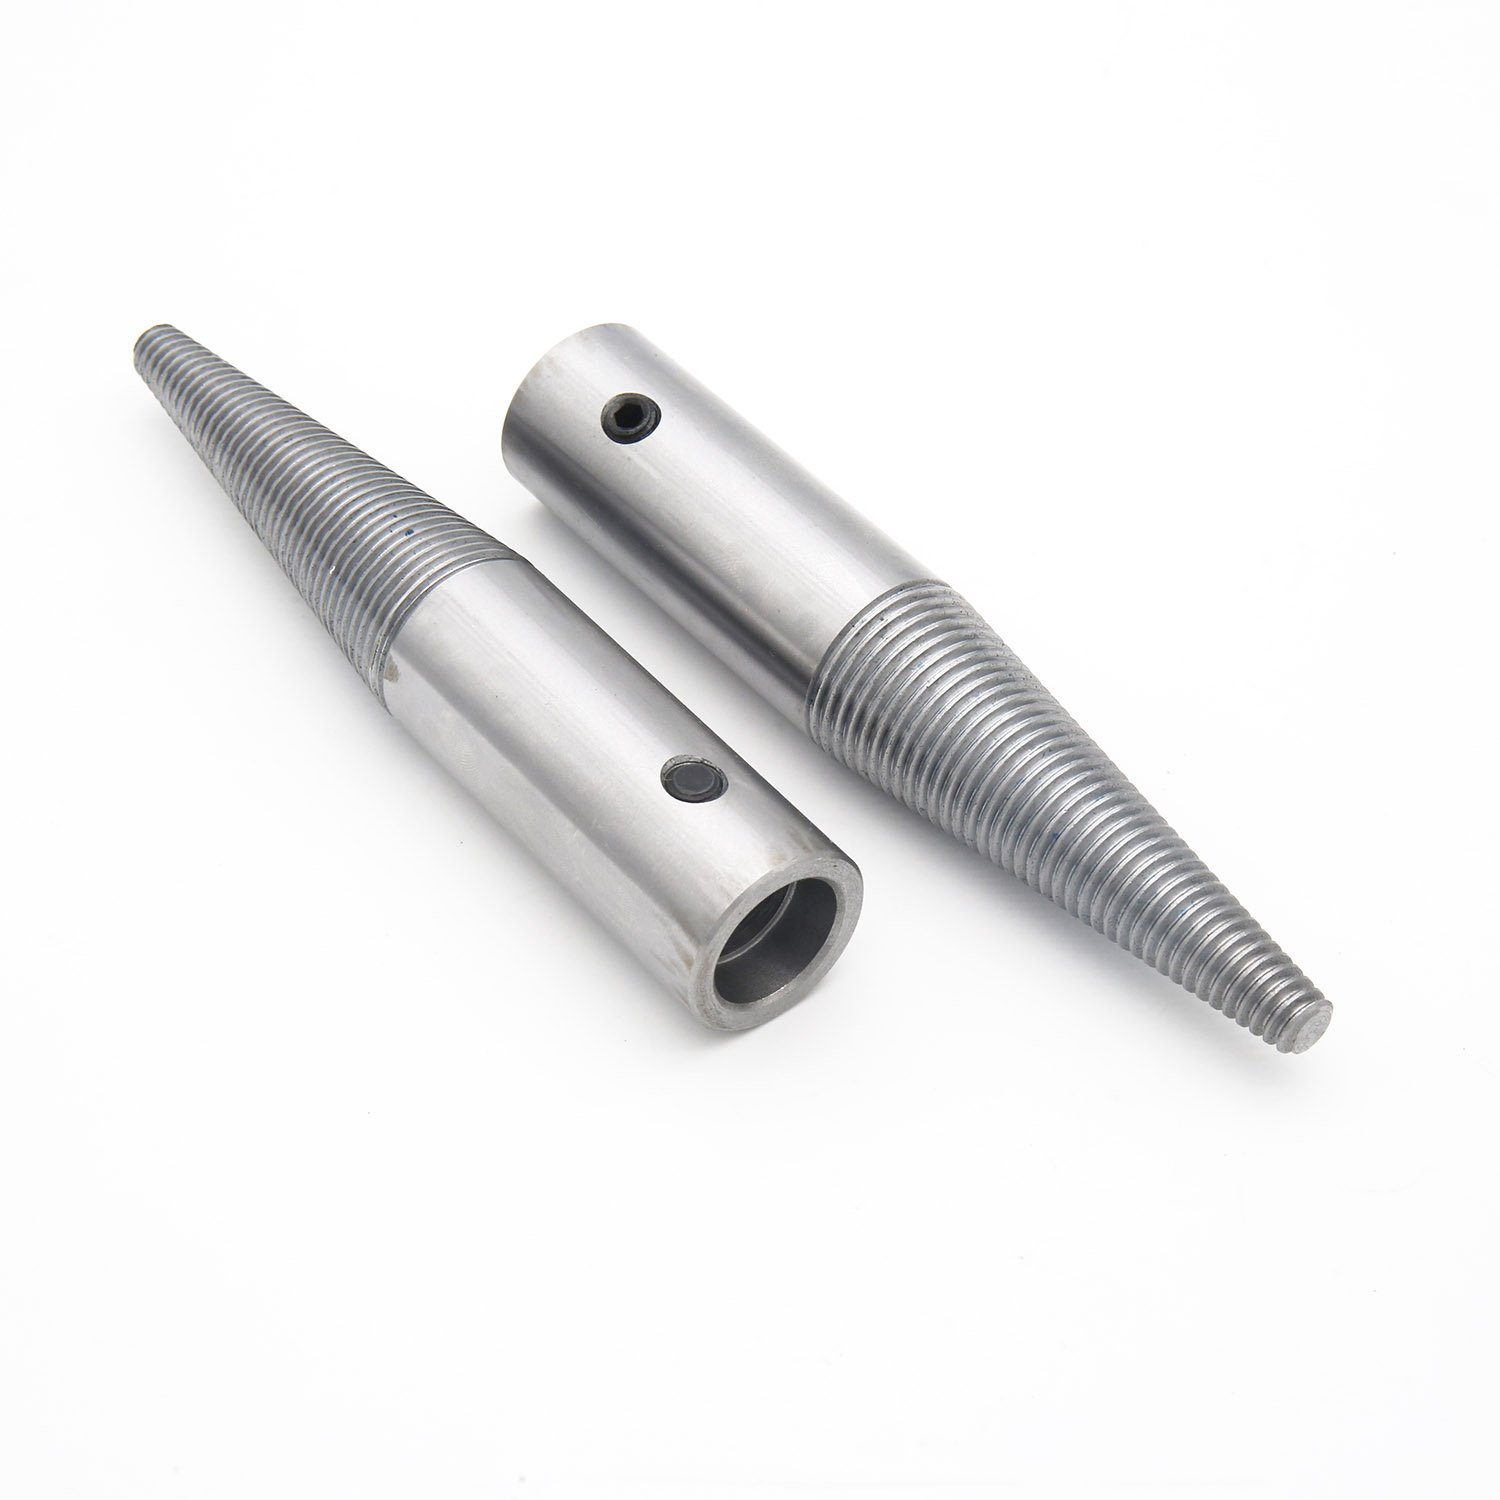 Steel Tapered Cone Mandrel for Buffing Wheels
- Yellow Cotton Buffing Wheel 10″x50Ply Ø250mm×12mm with Leather Centre
Discussion